Over the years, I have lowered many 88 Fieros and have learned a few things that I would like to pass on to others.
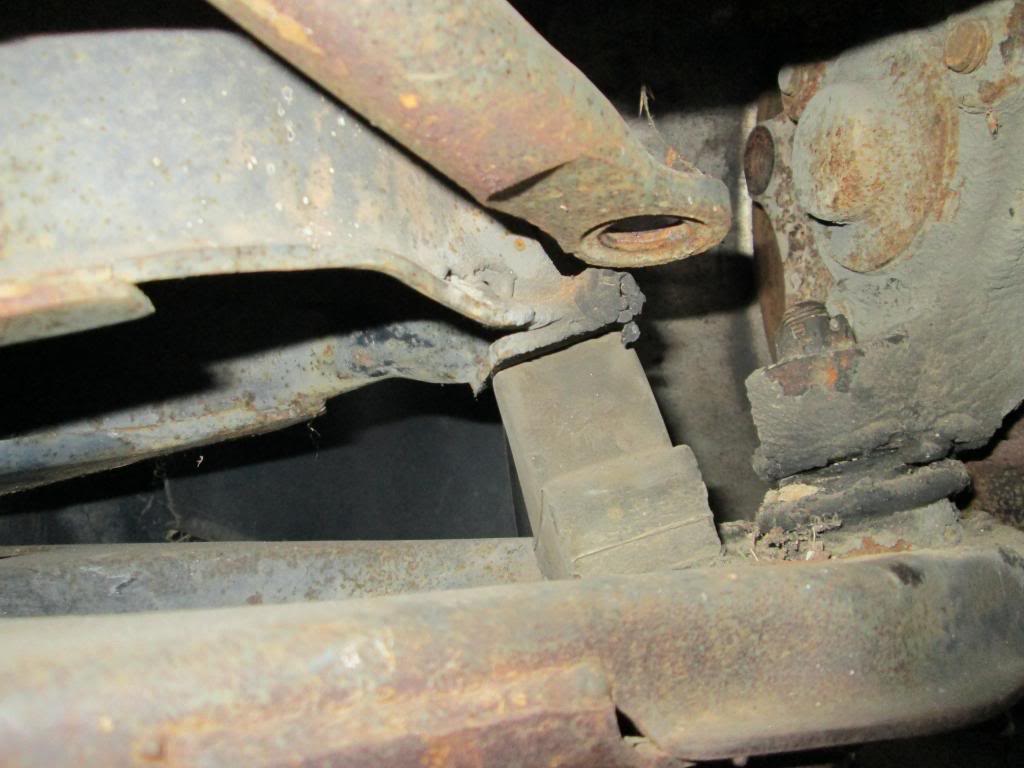
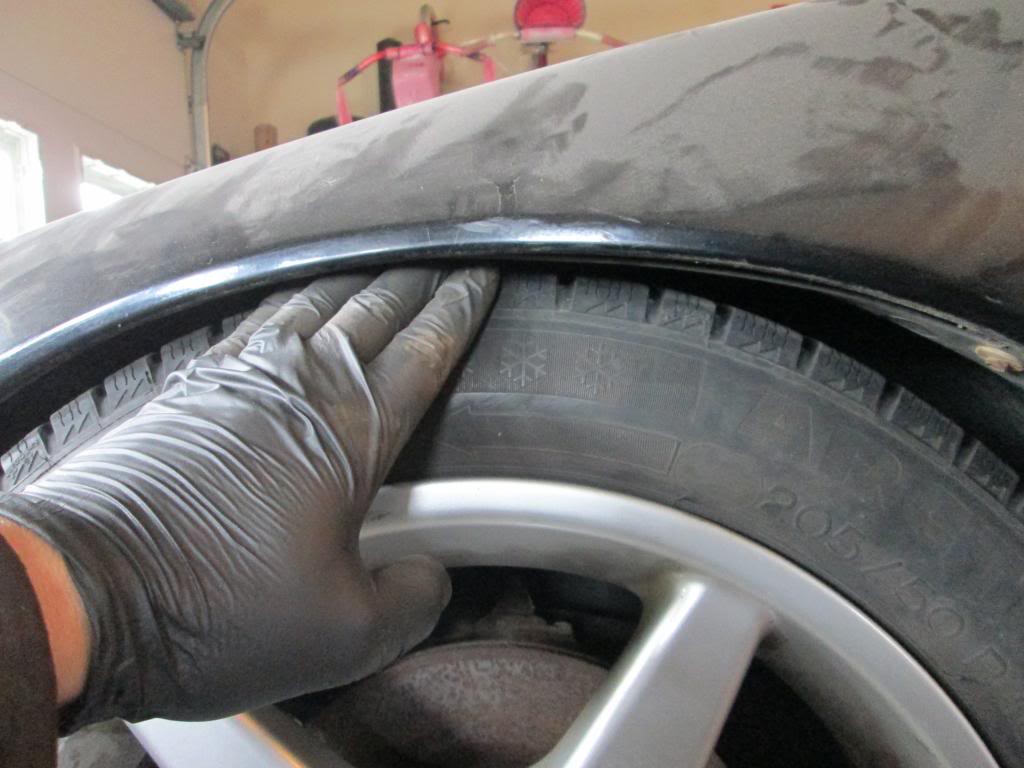
First, the stock front bump stop is much too tall. It will make contact with the cross-member well before the tire (205/50/16 tire shown) is even close to the fender. There are 2 reasons to trim the front bump stops:
1. You want to close the fender gap
2. You want to maximize suspension travel to improve ride quality when lowered.
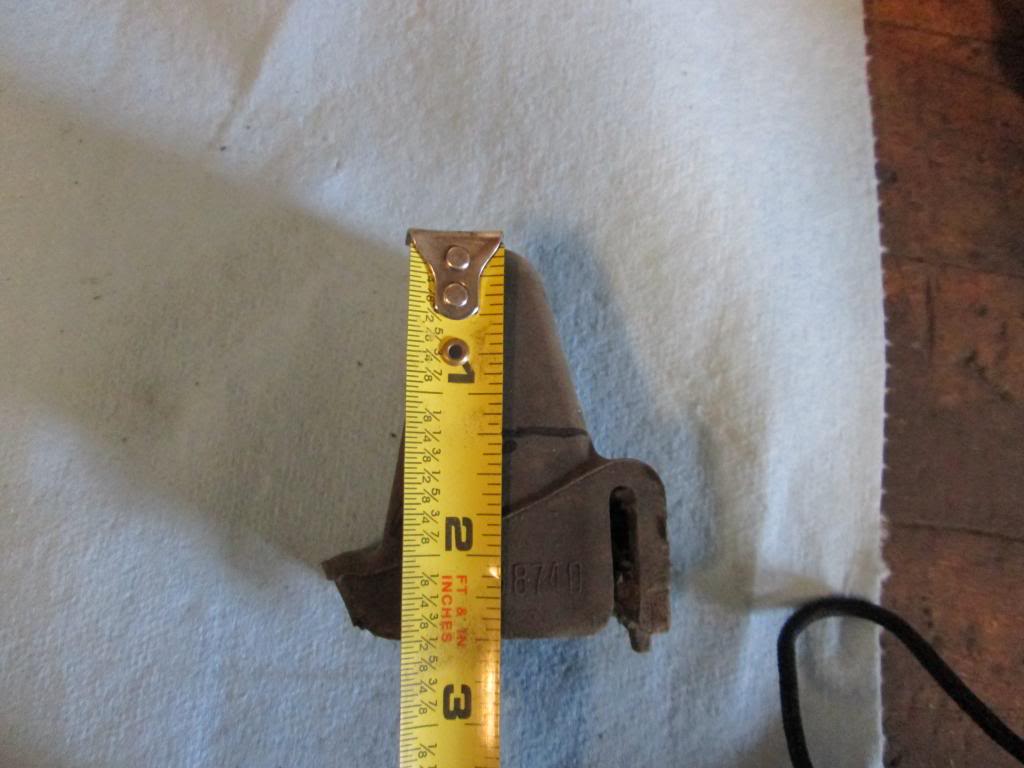
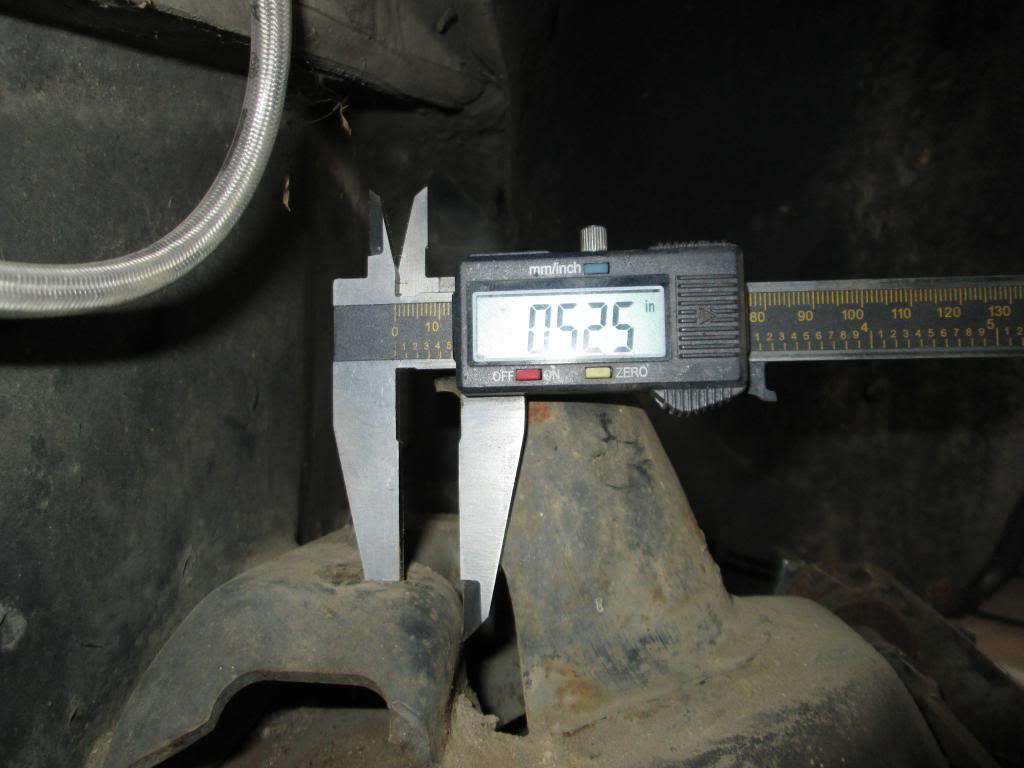
The bump stop is rubber, so it is easy to cut. To determine the right amount to cut, disconnect the front sway bar links, remove the shock, and remove the front springs. Reattach the lower ball joint and install your wheel with the stock bump stop installed. Then use a jack to raise the wheel until the bump stop makes contact. Measure the gap between the fender and tire. Remove the bump stop and trim as necessary to close the fender gap to the desired amount. As you trim the bump stop, do your best to keep the top of it tapered.


The shocks for the 88 front suspension are another areas where it pays to pay attention to the details. In one of the pictures below, there are 3 shocks. The shortest one is stock or a stock replacement, the red one is an 88 Koni shock, the grey one is a KYB. Notice that none of them are the same length... more importantly they are all longer than stock.
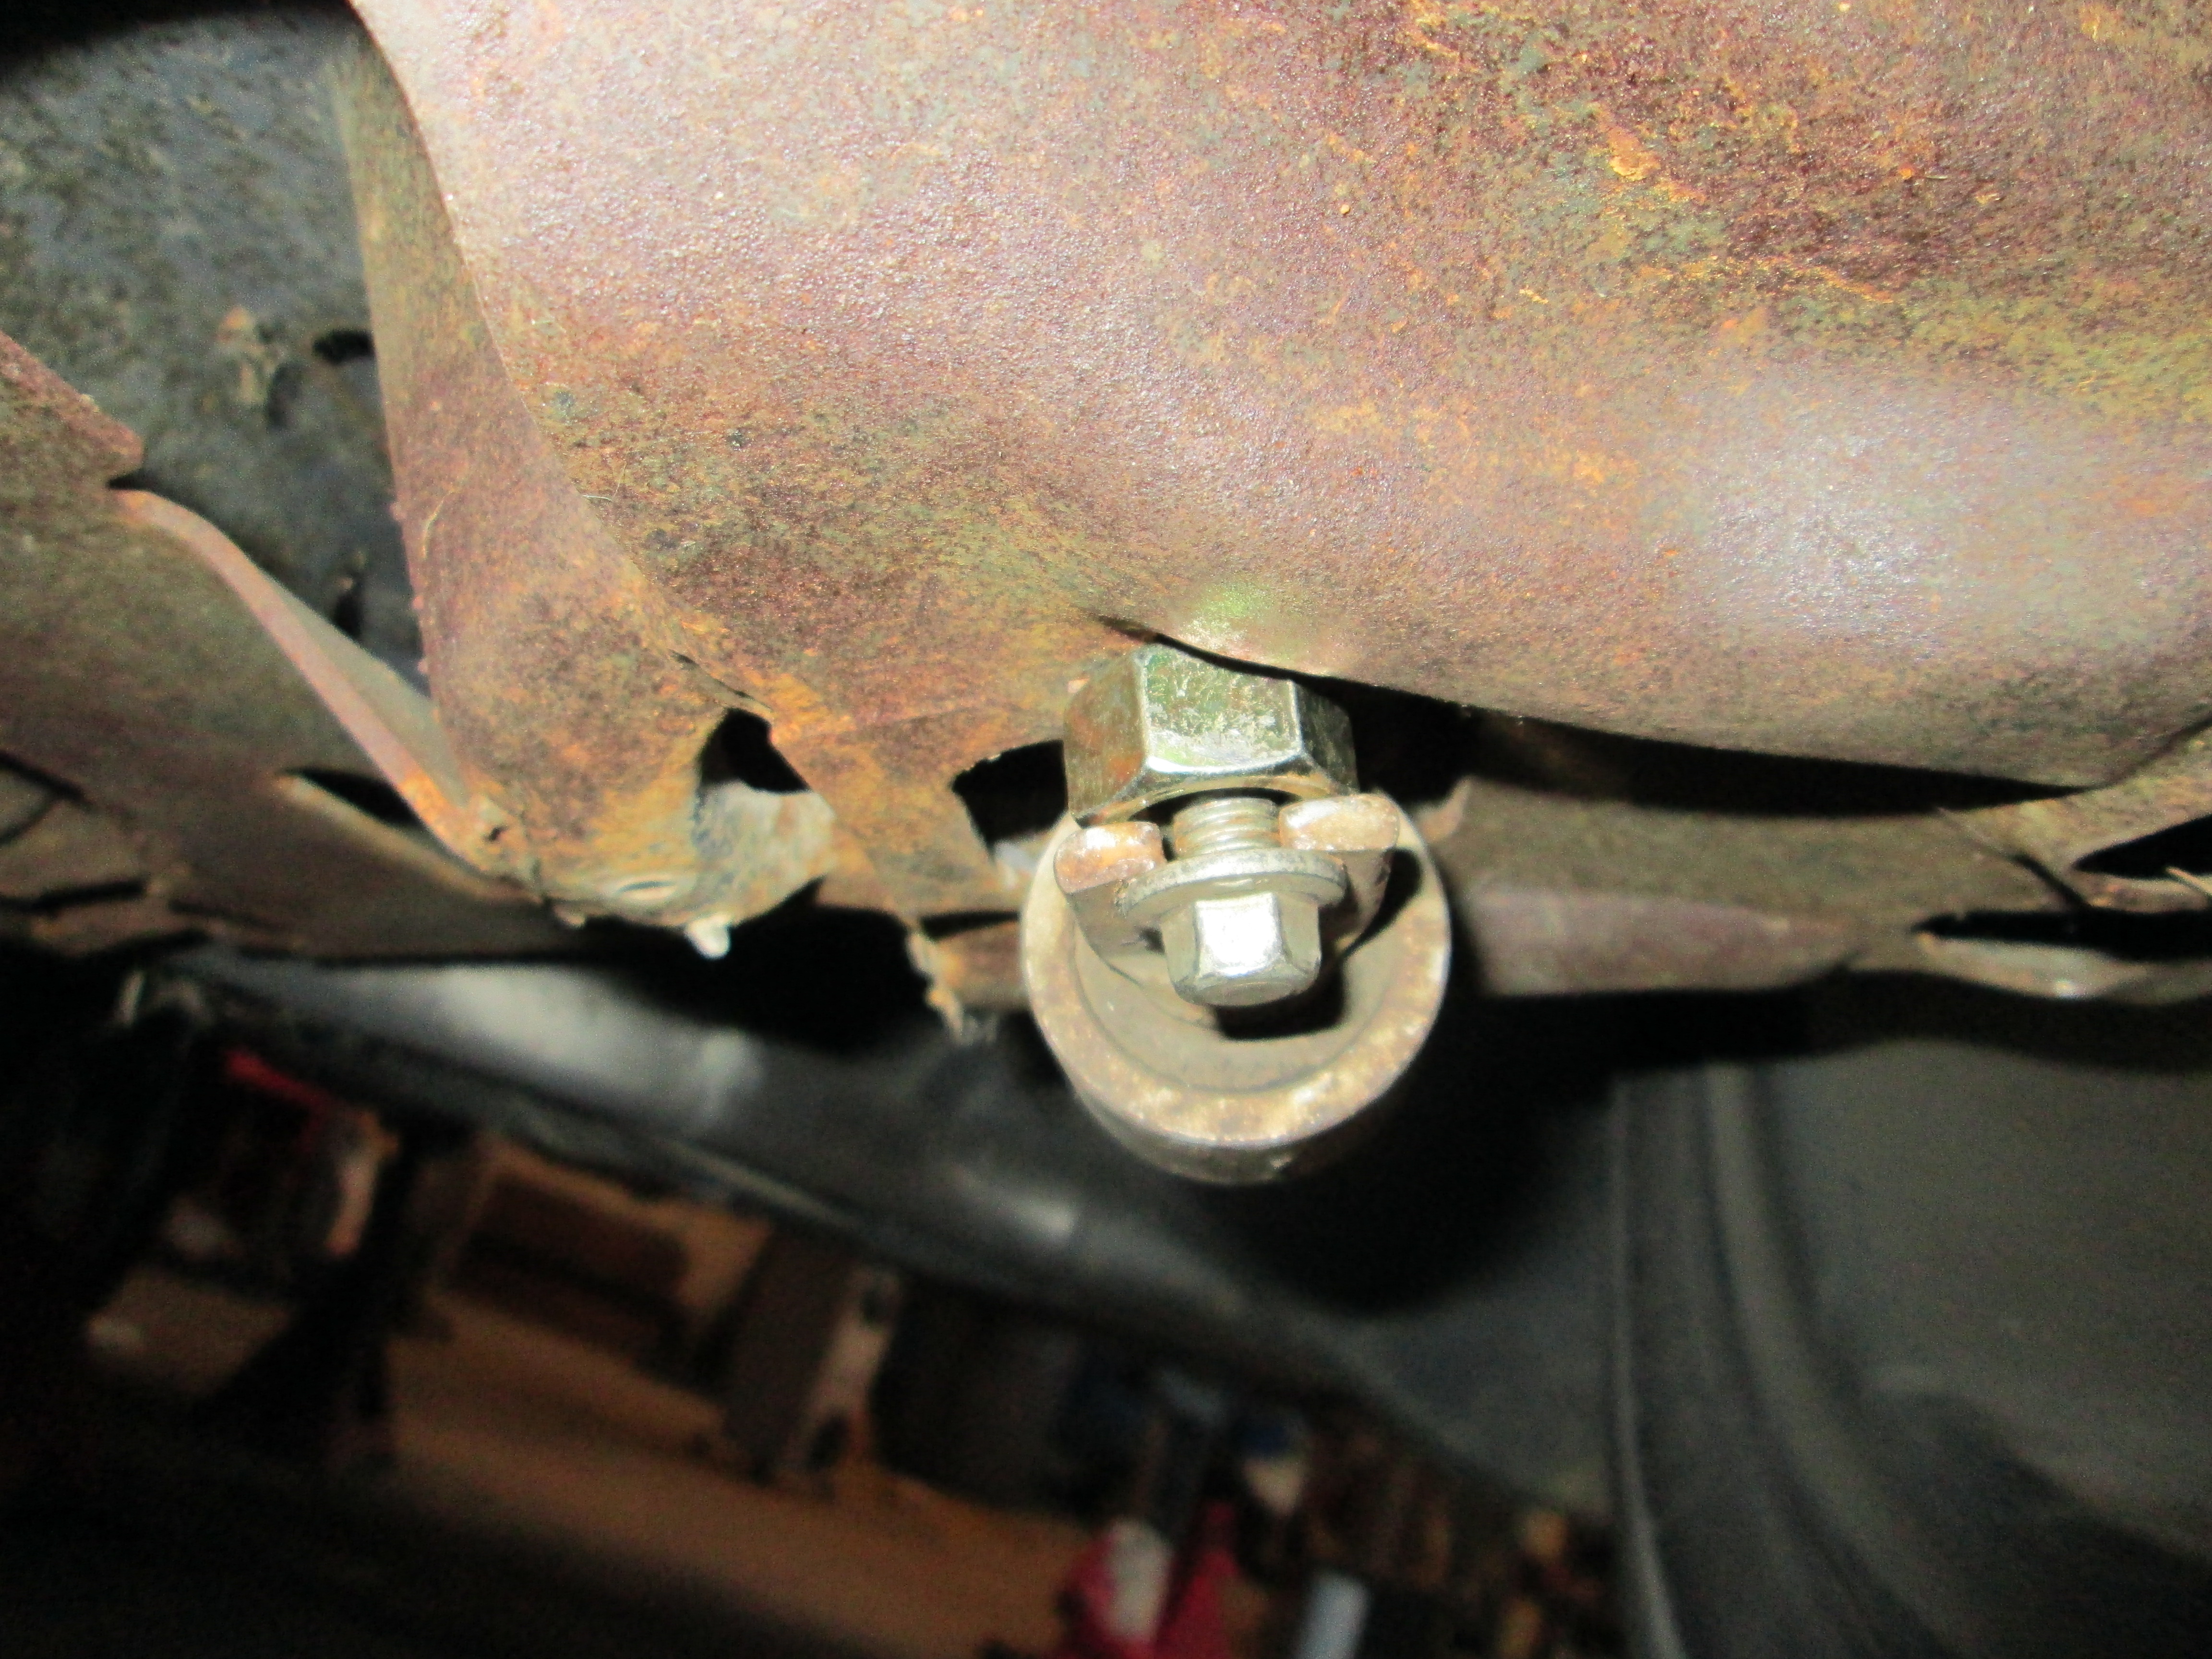
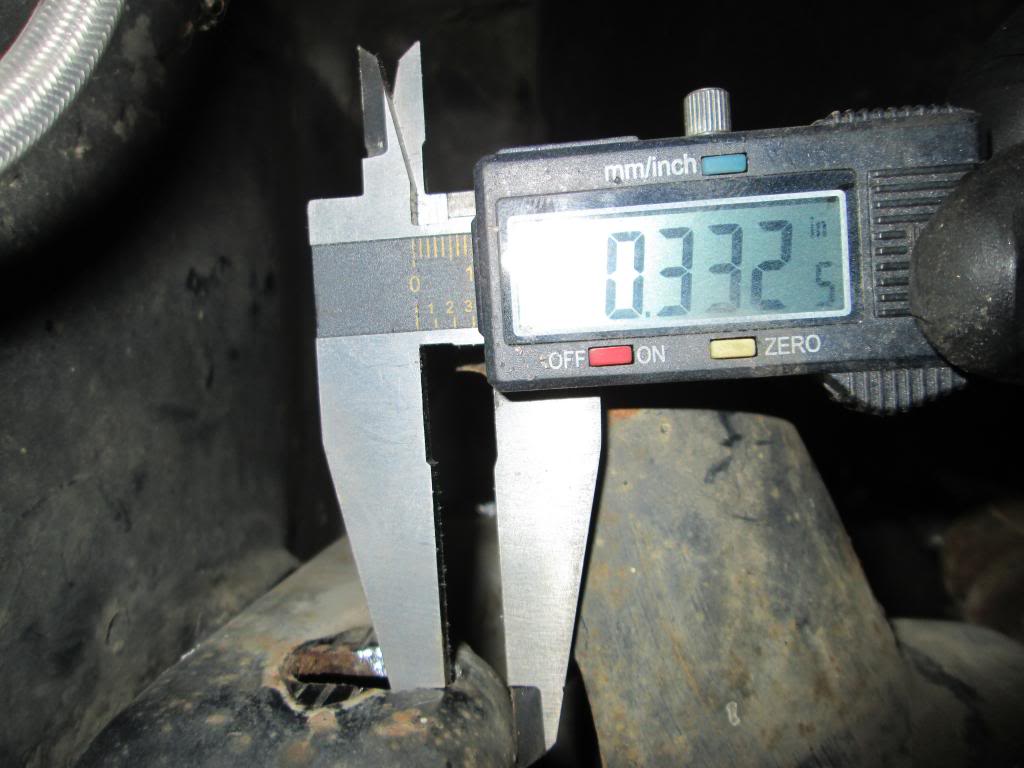
So when you lower an 88 Fiero and trim the bump stops, you need to verify that the shock compression is sufficient. You don't want the shock to bottom out before the shorter bump stop makes contact. So while you have the springs out, but with the bump stop removed, install the shock and raise the tire until the shock bottoms out. If the wheel doesn't make contact to the fender before the shock bottoms out, it is too long. Correcting for this is easy. Get some longer bolts and install a spacer (1/2" nut is shown) between the shock mount and the lower a-arm. The motion ratio is close to .50, so 3/8" thick spacer gets you 3/4" more movement at the wheel.


Depending on the extent of your lowering, you might have issues getting the front suspension aligned within specs and end up with a car with reduced caster or significant negative camber (wheels tucked in at the top). If this is the case, then you might want to consider doing the modifications below as they will allow you to get more range of motion in the adjustments of camber and caster.
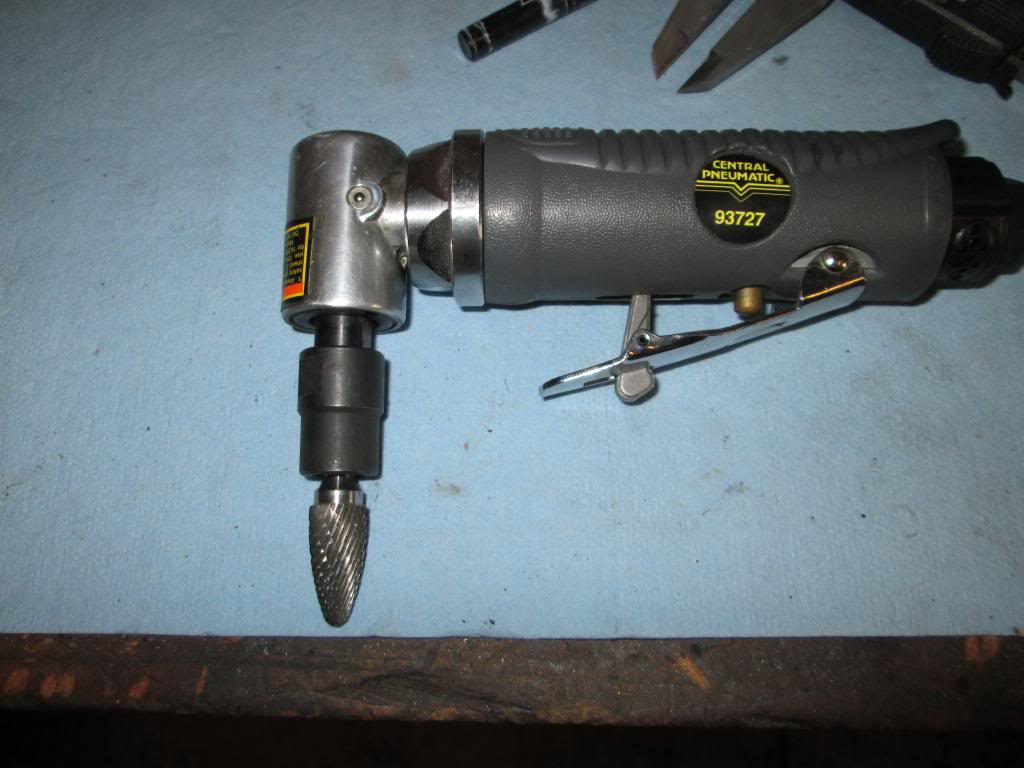
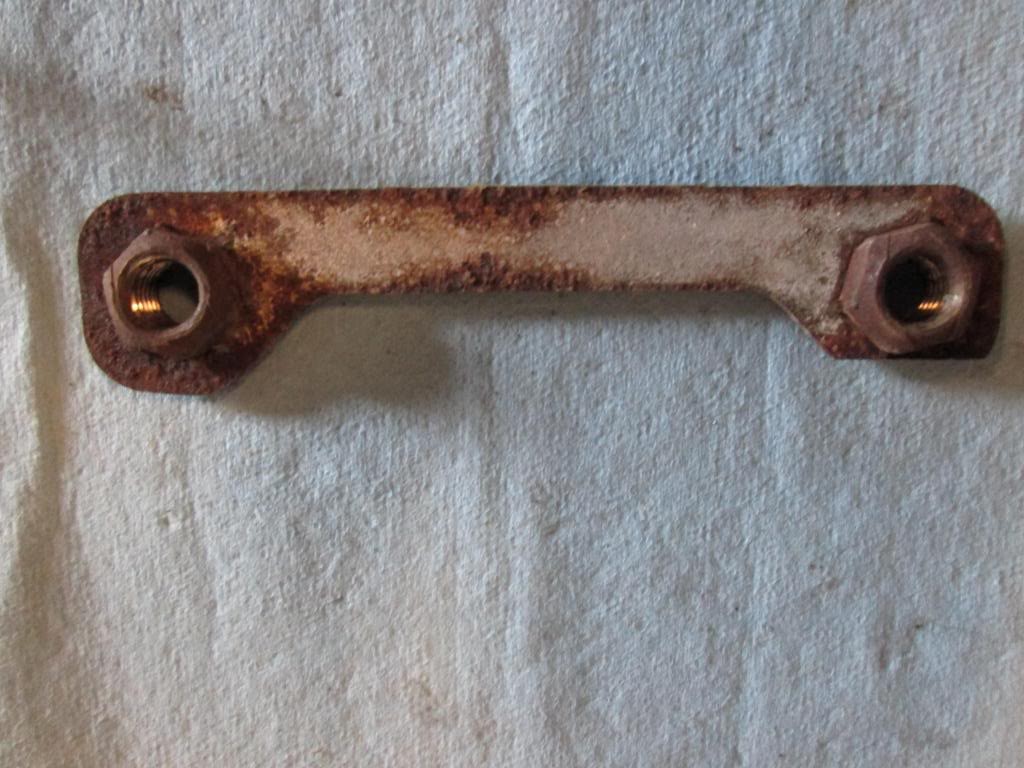
With the upper a-arm removed, notice the 2 slotted holes for adjustment. These slots end about 1/2" before the edge of the bracket, so you can use a air tool with a carbide bit to extend the slots about 1/8" to 3/16". To make use of this extra adjustment range, the nut strap also needs trimmed at around both nuts. Use hand held grinder to remove some of the excess material as shown. Once these modifications are made, you will have increased adjustment range for dialing in your alignment.
If the nut breaks free from the strap during tightening, you will need to use a wrench to hold it for the final torquing.
To simplify dialing in the caster and camber adjustments, purchase the GM special tool: Kent Moore J-36419.
These come as a pair of adjusters that thread onto the ends of the cross shaft of the upper a-arm and push against the side of the frame rail.
With these, you can loosen the bolts with the suspension loaded and make small adjustments to camber and caster. Additionally these will maintain the setting while the cross shaft bolts are tightened and torqued. Helpful hint: unbolt the brake line bracket so the end of the adjuster can be flat against the frame.


Lastly, lets talk about springs...
The stock 88 front springs all have the same rate (205 lb/in), but the lengths are slightly different between the models. When you decide to lower the front with springs, you have several options.
1. Cut 1/2 to 1 1/2 coils off the stock springs. Most people like to cut 1 full coil. As you cut coils and make the spring shorter, it will get stiffer. Cutting 1 coil off the 88 front spring increases its spring rate about 15% (~235 lb/in). When you install the spring, make sure the cut end is in the recessed pocket in the lower a-arm. The upper spring perch is flat, the lowered one is contoured and will better support the cut end.
2. Cut down some 84-87 front springs - preferably from a GT or WS6 RPO as these are the stiffest. These springs are taller, so you normally cut 1 1/2 to 2 1/2 coils from them. The reason to go this route is you end up with spring rate in the 250-325 lbs/in spring rate, depending on which spring you start with. Cutting 1 3/4 coils off an FJF spring results in roughly a 275 lb/in spring rate.
3. Cut down new springs from other applications... This allows you to get higher rate spring options.
• Moog 7634 springs, cut down to 9 1/2" free length (cutting off the conical end) results in a spring rate around 360 lbs/in.
• Moog 639 springs, cut down to 8 3/4" free length results in a spring rate around 575 lb/in.
4. Buy lowering springs from the various vendors... but what fun is that!